From Snapshots to Scrapbooks: Step-by-Step Guide to Scrapbooking Your Favorite Memories
Listen, I’ll be the first to admit that when I hear the phrase “scrapbooking,” my first thought usually goes to my grandmother making all of the grandkids a scrapbook full of baby photos. But what if I told you this activity has been respun and is now trendy?! 🤔
A scrapbook can be, simply put, a prettier photo album, OR you can put your own artsy spin on it. That’s the beauty of this hobby, it really can be whatever you make of it! It’s a great way to do something with all those old photos lying around, or a way to reminisce on past events, vacations, even the good ole days when the kiddos were learning to walk! It's like your own personalized stroll down memory lane!
Why Start Scrapbooking
Scrapbooking isn’t just about cutting and pasting (though we do love a good glue stick moment). It's about keeping those little moments (or big milestones) close in a way that’s both fun and creative. Imagine flipping through an album years from now, seeing those cherished moments captured in beautiful layouts—it's like your own personal time capsule. For new moms, it’s a fantastic way to document all those "firsts" your little one experiences. Plus, it’s a perfect excuse to carve out some “me time” while doing something artistic. Scrapbooks also make incredibly thoughtful gifts. Who wouldn’t love to receive an album filled with shared memories? And let’s be real, in the age of digital everything, having a tactile, hand-crafted memory book feels extra special. So grab those photos and get scrappin’ ... do people say that, or did I just start a new trend?!
Getting Started with Scrapbooking
Step 1: Choose Your Theme and Style
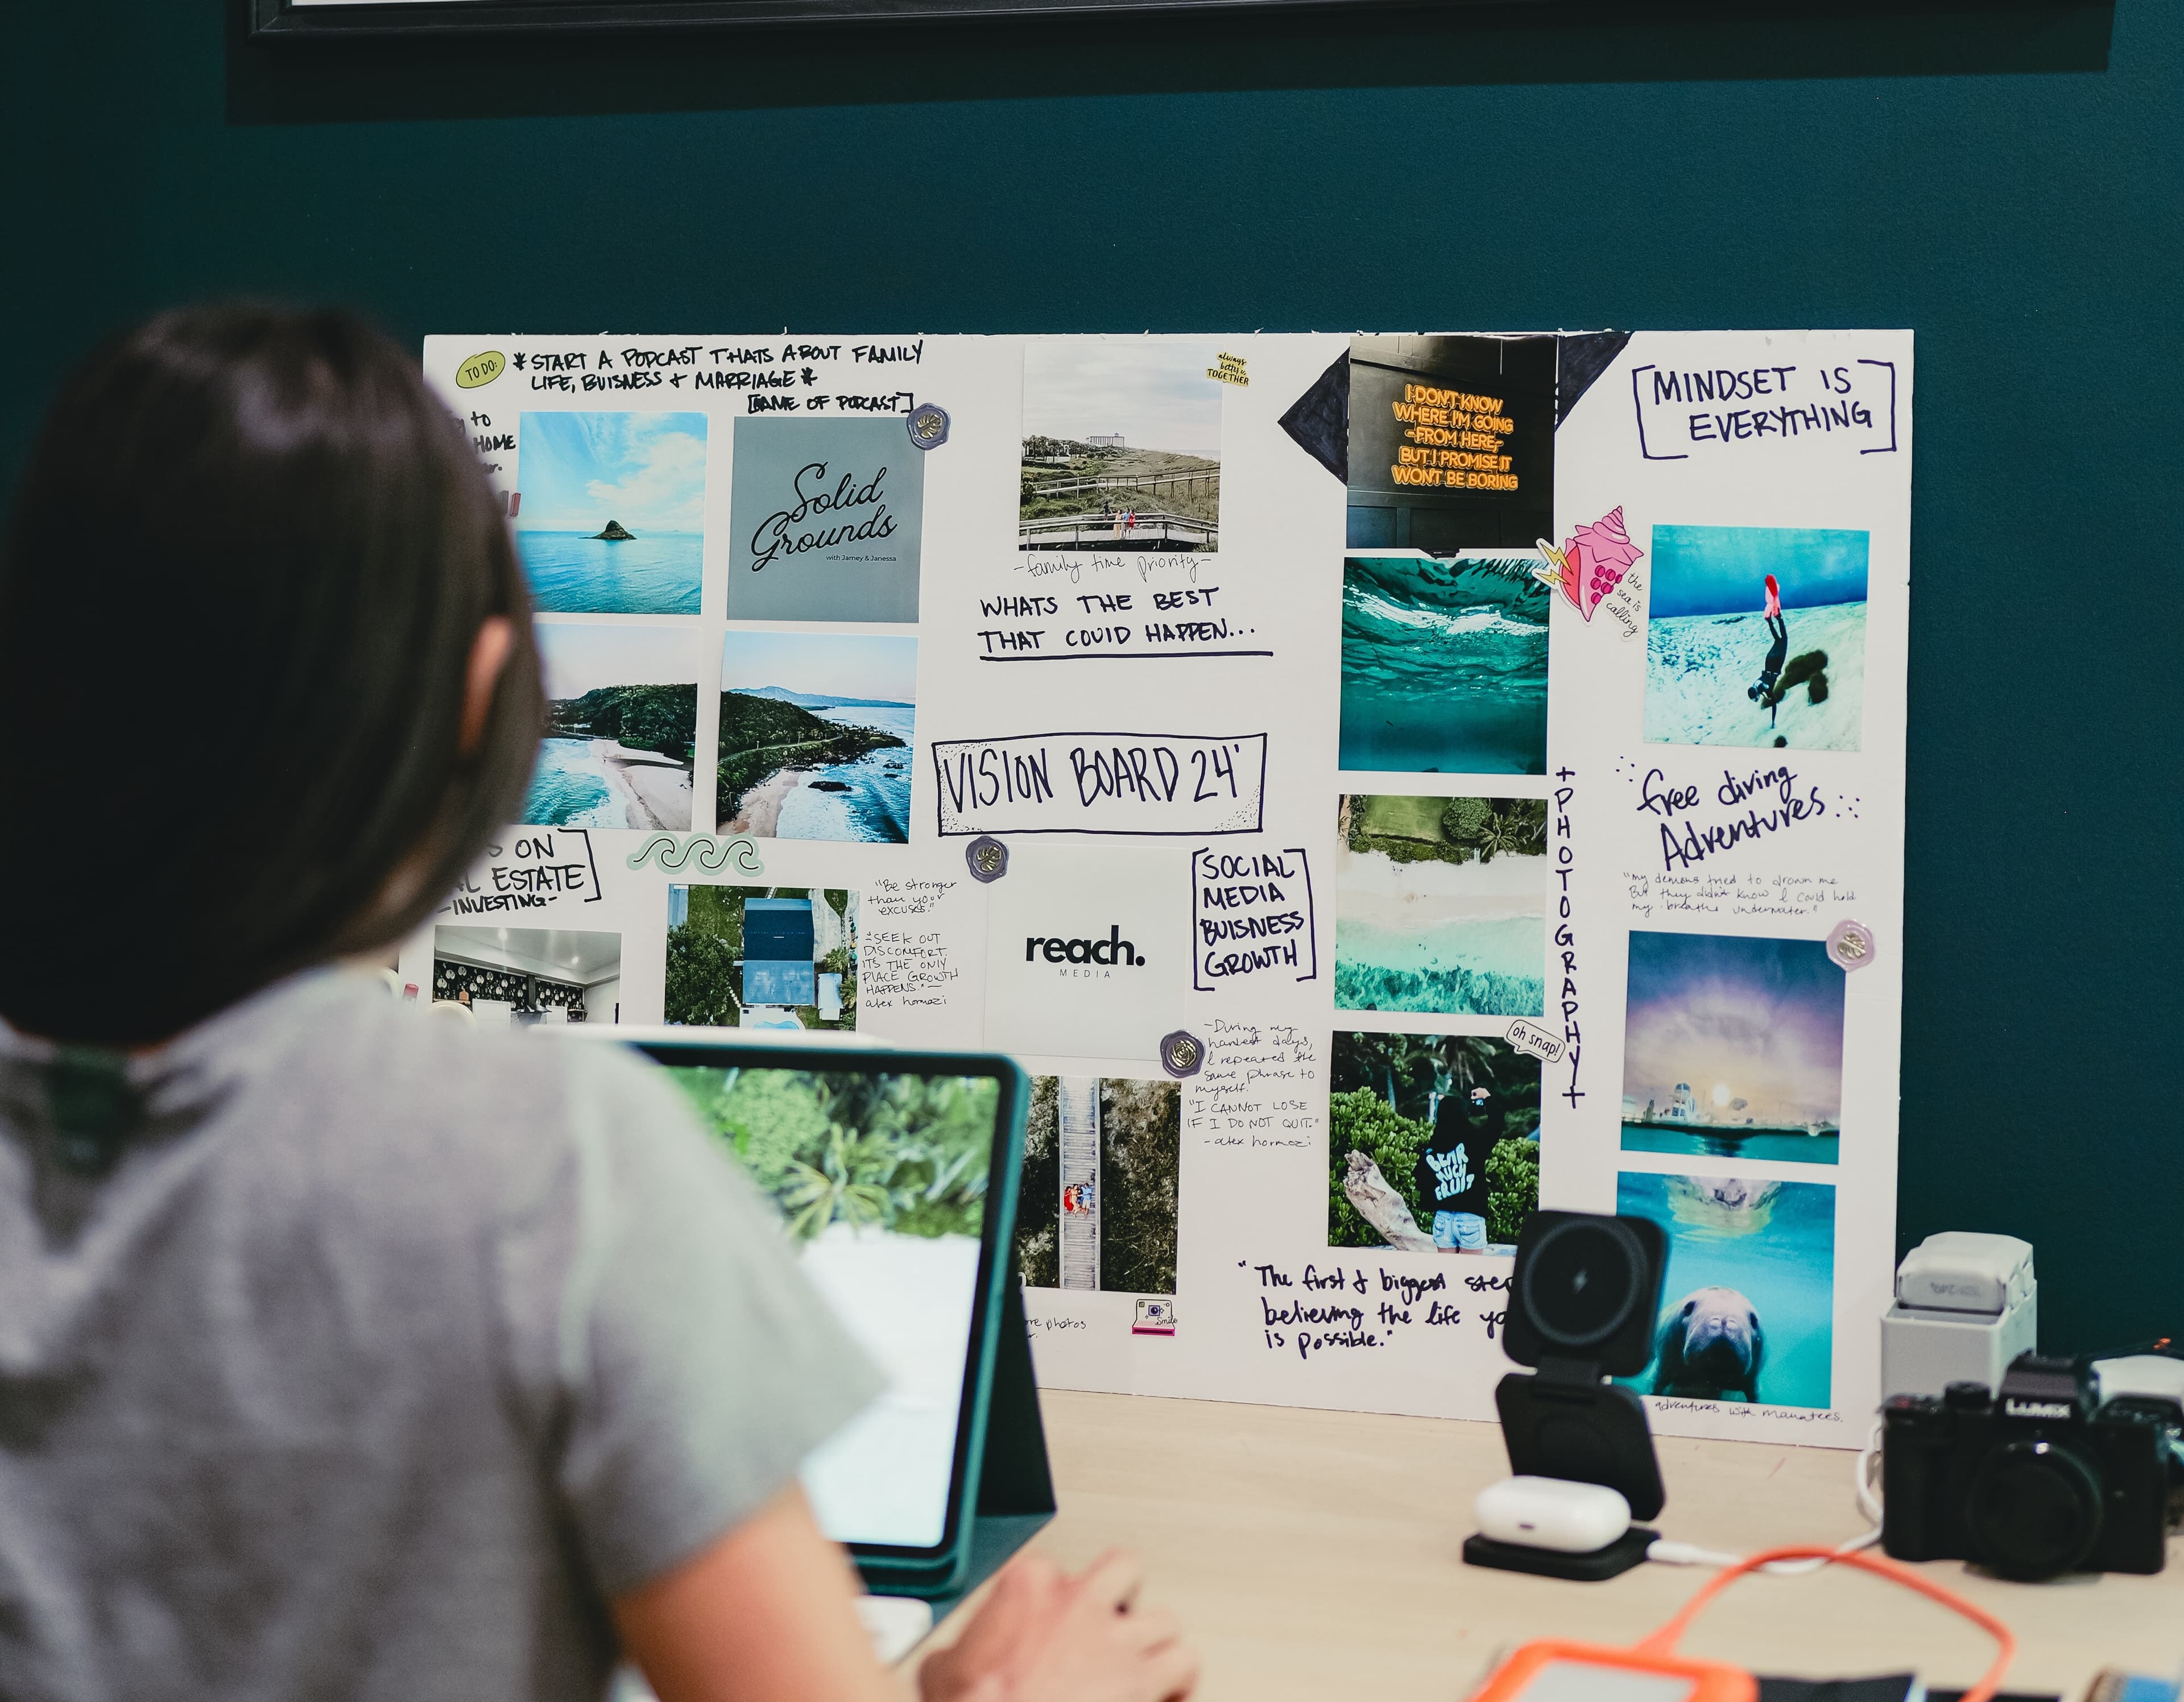
Before diving into your scrapbook, it’s super important to decide on a theme and style. The theme sets the tone for your album, whether it’s a baby’s first year, a travel adventure, or a romantic journey for your first anniversary with your boo.
Your style is the visual flair you’ll add—think vintage, modern, minimalist, or super colorful. Browsing Pinterest, Instagram or even Tiktok can spark inspiration (and maybe a touch of envy). This will help you determine the types of paper, embellishments, and layouts you’ll need. When you choose a theme, it also makes it easier to narrow down which photos to include. Trust us, having a clear vision will save you time and keep you focused. Plus, it’ll make your scrapbook look cohesive and well-thought-out, rather than a hodgepodge of random images and colors. Ready to get crafty?
Step 2: Gather Your Supplies
Once you’ve nailed down your theme and style, it’s time to gather your supplies. Start with the basics: a sturdy scrapbook album, acid-free paper, and adhesive (because nobody likes yellowed pages). You’ll also need scissors, a paper trimmer, and some pens for journaling. Now, let’s talk embellishments. Stickers, washi tape, and die-cuts can add that extra pizzazz to your pages. Don’t forget to include some decorative paper to make your layouts pop.
Having all your supplies ready before you start will keep the creative flow going and save you from those dreaded mid-project runs to the craft store, it's not a ✨ crafty vibe ✨. And of course, you’ll need your photos ...
Step 3: Print Your Photos with Picta
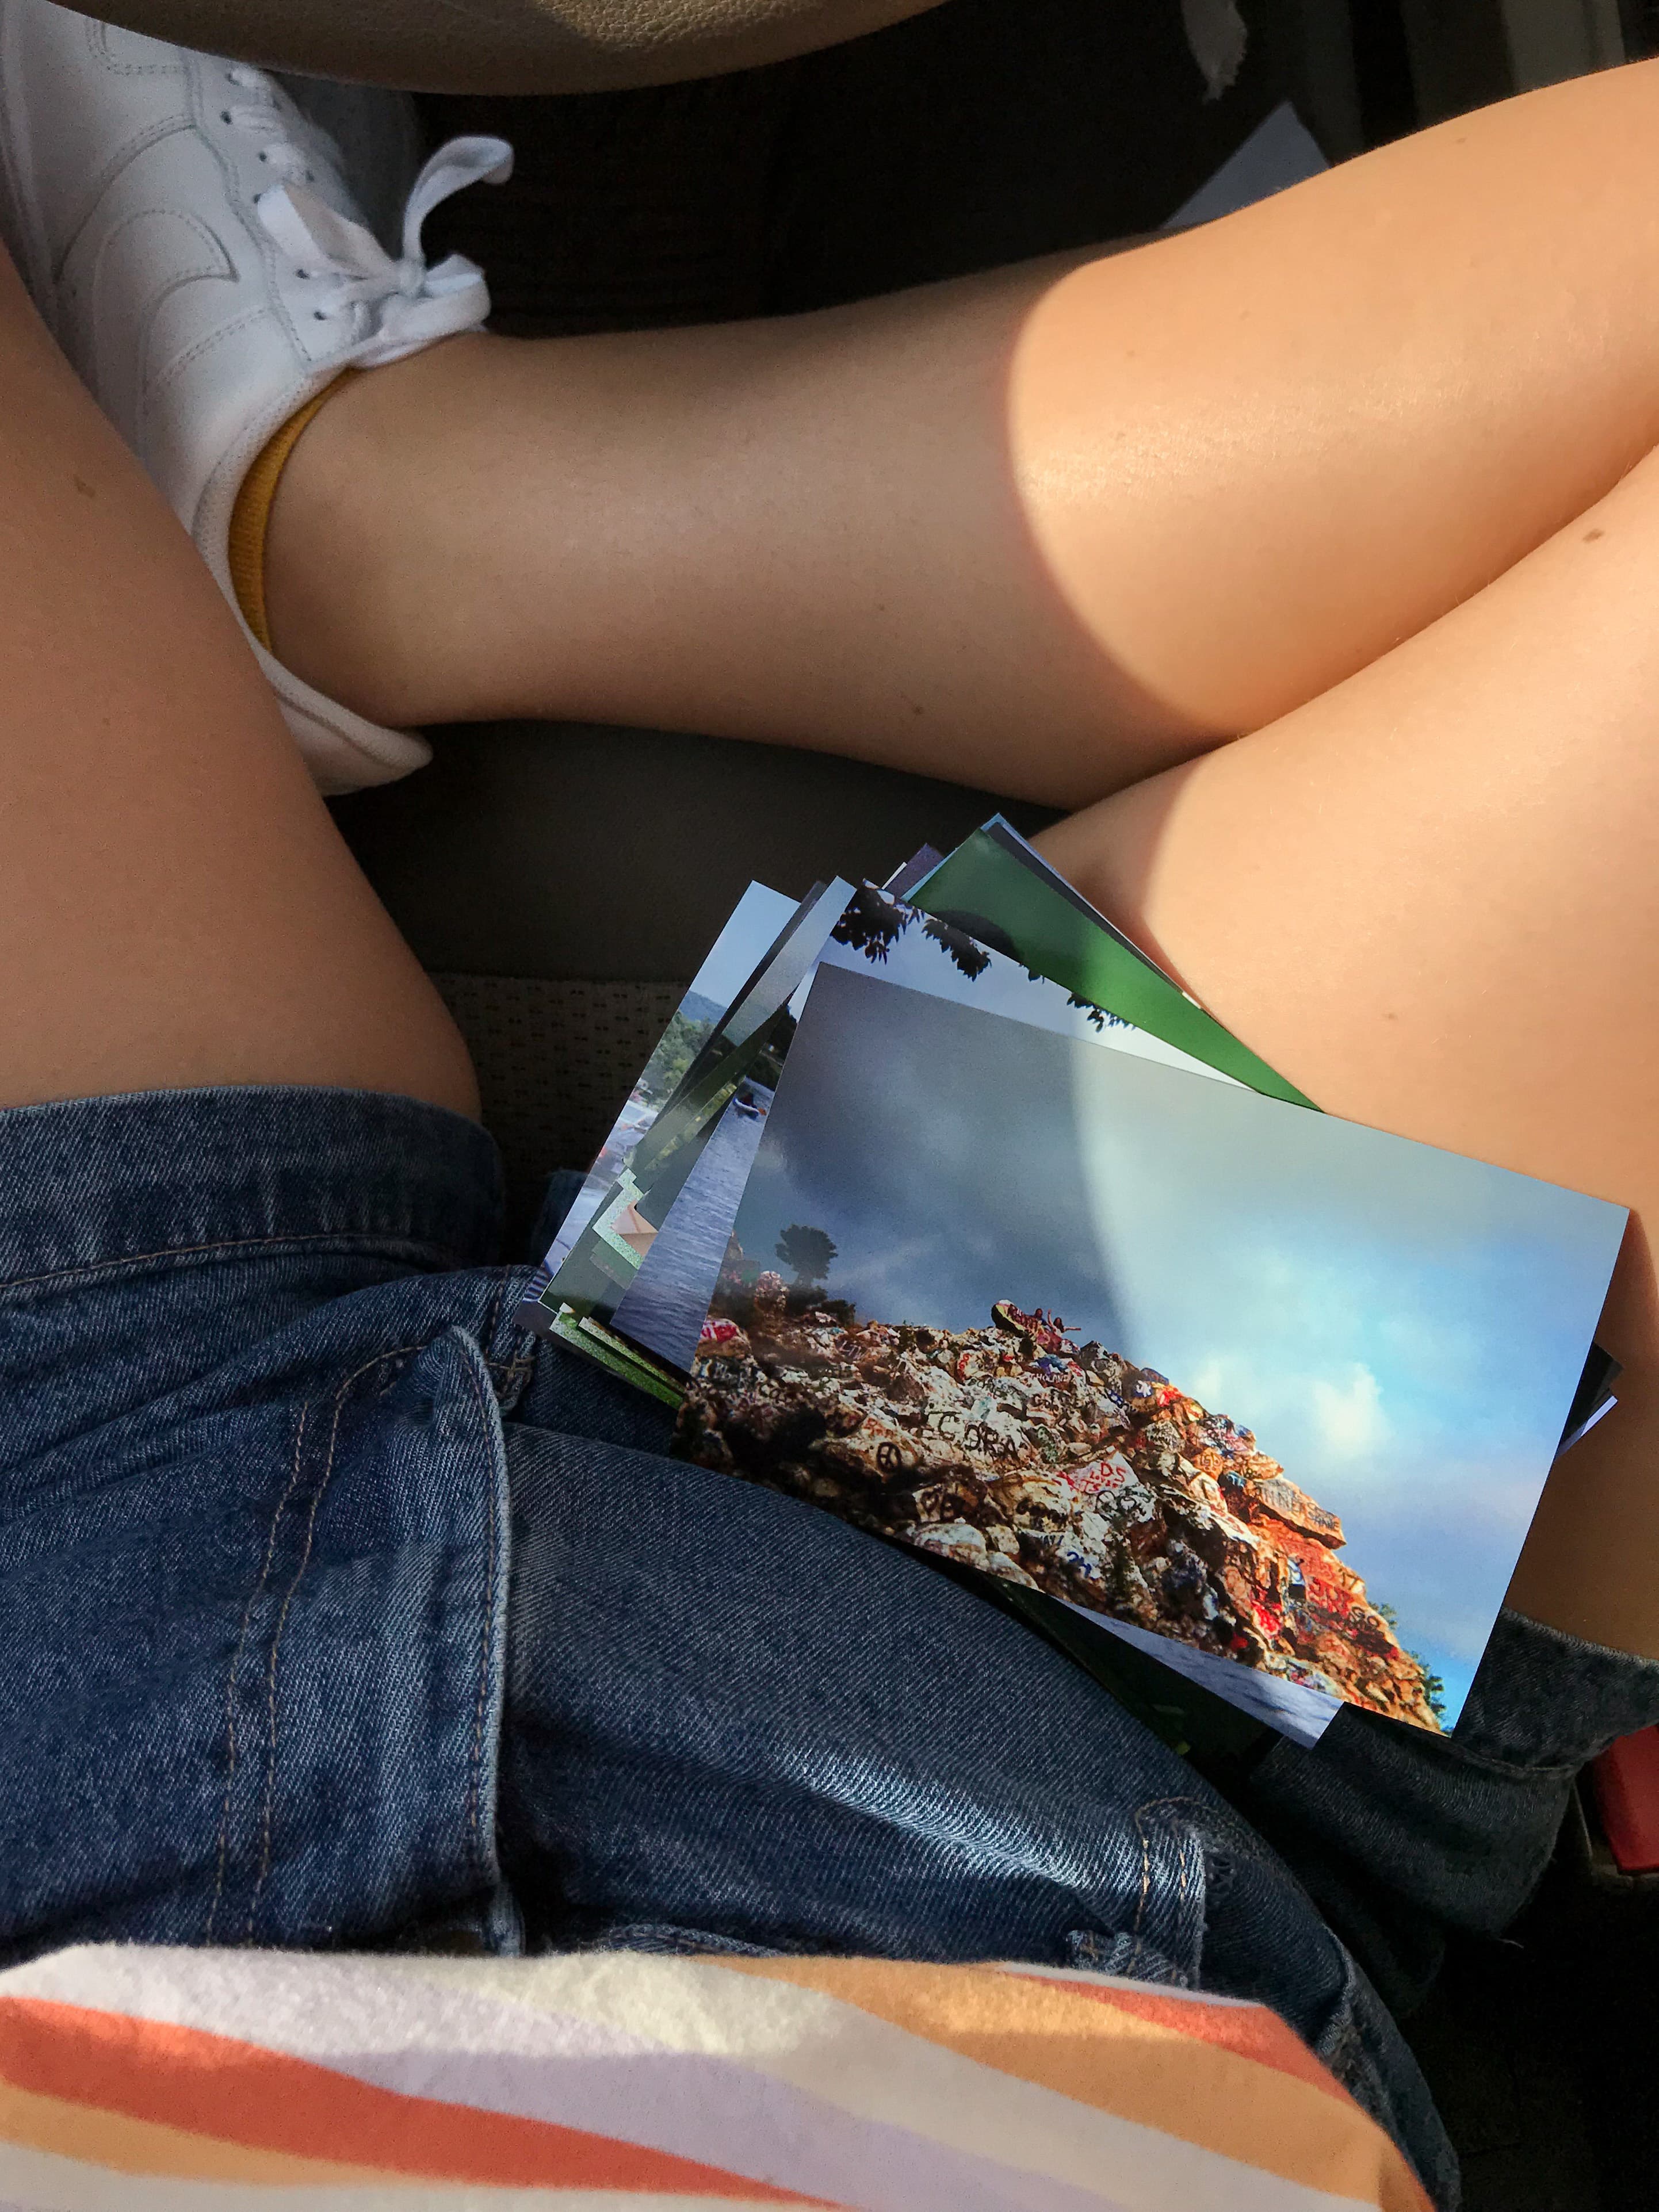
No scrapbook is complete without the perfect photos, and that’s where we come in handy. Picta offers a same-day printing service, which means you can upload your favorite images and pick them up at a nearby store in no time. This is a lifesaver for last-minute projects or when you just can’t wait to get started.
Simply head to the Picta site, select your photos, choose your photo print size, and voilà—your memories are ready to be scrapped. High-quality prints ensure that your images look crisp and vibrant, making your scrapbook even more stunning. Plus, isn't there something incredibly satisfying about holding a physical photo in your hand, especially in our digital age? So go ahead, print those pics, and embrace your creative side.

Creating Your Scrapbook
Stay 4: Designing Your Layout
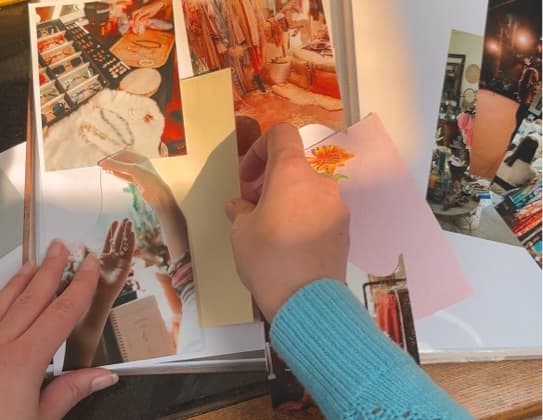
Now that you have your photos and supplies ready, it’s time to design your layout. Start by arranging your photos on the page (or pages if you're a go-getter) without adhesives. Personally, I like to start with one photo to create the perfect page layout. This way, you can play around with different placements until you find a layout that feels just right. Consider the story you want to tell with each page. Do you want a chronological flow, or do you prefer a more thematic approach?
Don’t be afraid to leave some white space; it helps your photos stand out. Keep in mind where to add journaling spots for captions or little notes. Layering is key—try stacking different types of paper and embellishments to add depth, but more on that later on. And remember, there’s no right or wrong way to design your layout. It’s all about what makes you happy and brings your memories to life!
Step 5: Adding Embellishments: Stickers, Tape & Captions, Oh My!
Once your layout is set, it’s time to add those finishing touches with embellishments. Embellishments can range from stickers and washi tape to buttons and ribbons. These little extras can turn a simple page into a visually stunning masterpiece. Start by placing a few embellishments around your photos and journaling spots. Think about using frames or borders to highlight key images. Add in little notes and words to create some written elements to describe your page! "#AsiaAdventures" for a backpacking trip or "Brayden's First Steps" can add a pop to your page!
Layering different textures, like fabric or lace or even sparkles, can add a tactile element that makes your scrapbook even more engaging. Just remember, less is often more—too many embellishments can overwhelm your design. Aim for a balanced look that enhances your photos without overshadowing them. And don’t forget to have fun with it, after all, that's why you're here!
Step 6 ... and beyond! Crafting a Cohesive Album
Creating a cohesive album is all about consistency in your theme, style, and colors. Start by choosing a color palette that complements your photos or your theme and stick to it throughout your scrapbook. This will make your album look polished and professionally done. Use similar types of embellishments, fonts, and paper patterns on each page to maintain a unified look. Think of each page as a chapter in your story—while they can stand alone, they should also flow seamlessly into the next.
Consistency doesn’t mean every page has to be identical; rather, it’s about creating a harmonious vibe that ties everything together. Remember to incorporate recurring elements, like a specific type of border or a favorite embellishment, to reinforce the theme. Crafting a cohesive album takes a bit of planning, but the end result will be a beautifully unified book of memories that you’ll cherish forever.
Scrapbook Theme Ideas
Want to start to create your own scrapbook but don't have a special occasion in mind? We've started a little brainstorm:
- Baby's First Year: Dive into all the "firsts" for your little one as a new parent, family memories await!
- Graduation Memorabilia: I'm a huge fan on this one, keep those high school or college memories close post-graduation with a scrapbook of the past 4 years!
- Vacation: Throw those photos from your family vacation, girl's trip, first couple's vacation ... together in a personalized photo album! It's the perfect addition to your coffee table!
- Anniversary Presents: Gather aaaaall those selfies and snaps from the past year for the cutest anniversary gift (did we mention it's in the budget!).
- ... and so much more! If you've got another idea, it deserves a scrapbook!
Categories

Written by Leah from Picta
View all postsLeah is a self-proclaimed iced coffee enthusiast, "word artist", and brunch connoisseur. By day, she makes a living by creating all this content you know and hopefully love for Picta on the blog, in your inbox, or on social media. By night, she enjoys cooking up something new in the kitchen, hopping on her road bike, and painting watercolors with a glass of rosé (or two or three)!