How to Create Aesthetic Wall Decor in 3 Simple Steps
Ready to make your space pop? Crafting an aesthetic photo wall is the perfect way to bring your room to life and showcase your favorite memories! Whether you're moving into a new apartment, redecorating your dorm, or just looking to add a personal touch, a well-curated photo gallery can transform any blank wall into a piece of art. From selecting the perfect frames to hanging your photos (without making your landlord furious), we've got all the tips and tricks to help you create a stunning display. So grab your photos, get creative, and let's get down to business!
Choosing Your Photo Wall Style
Gallery Wall Ideas
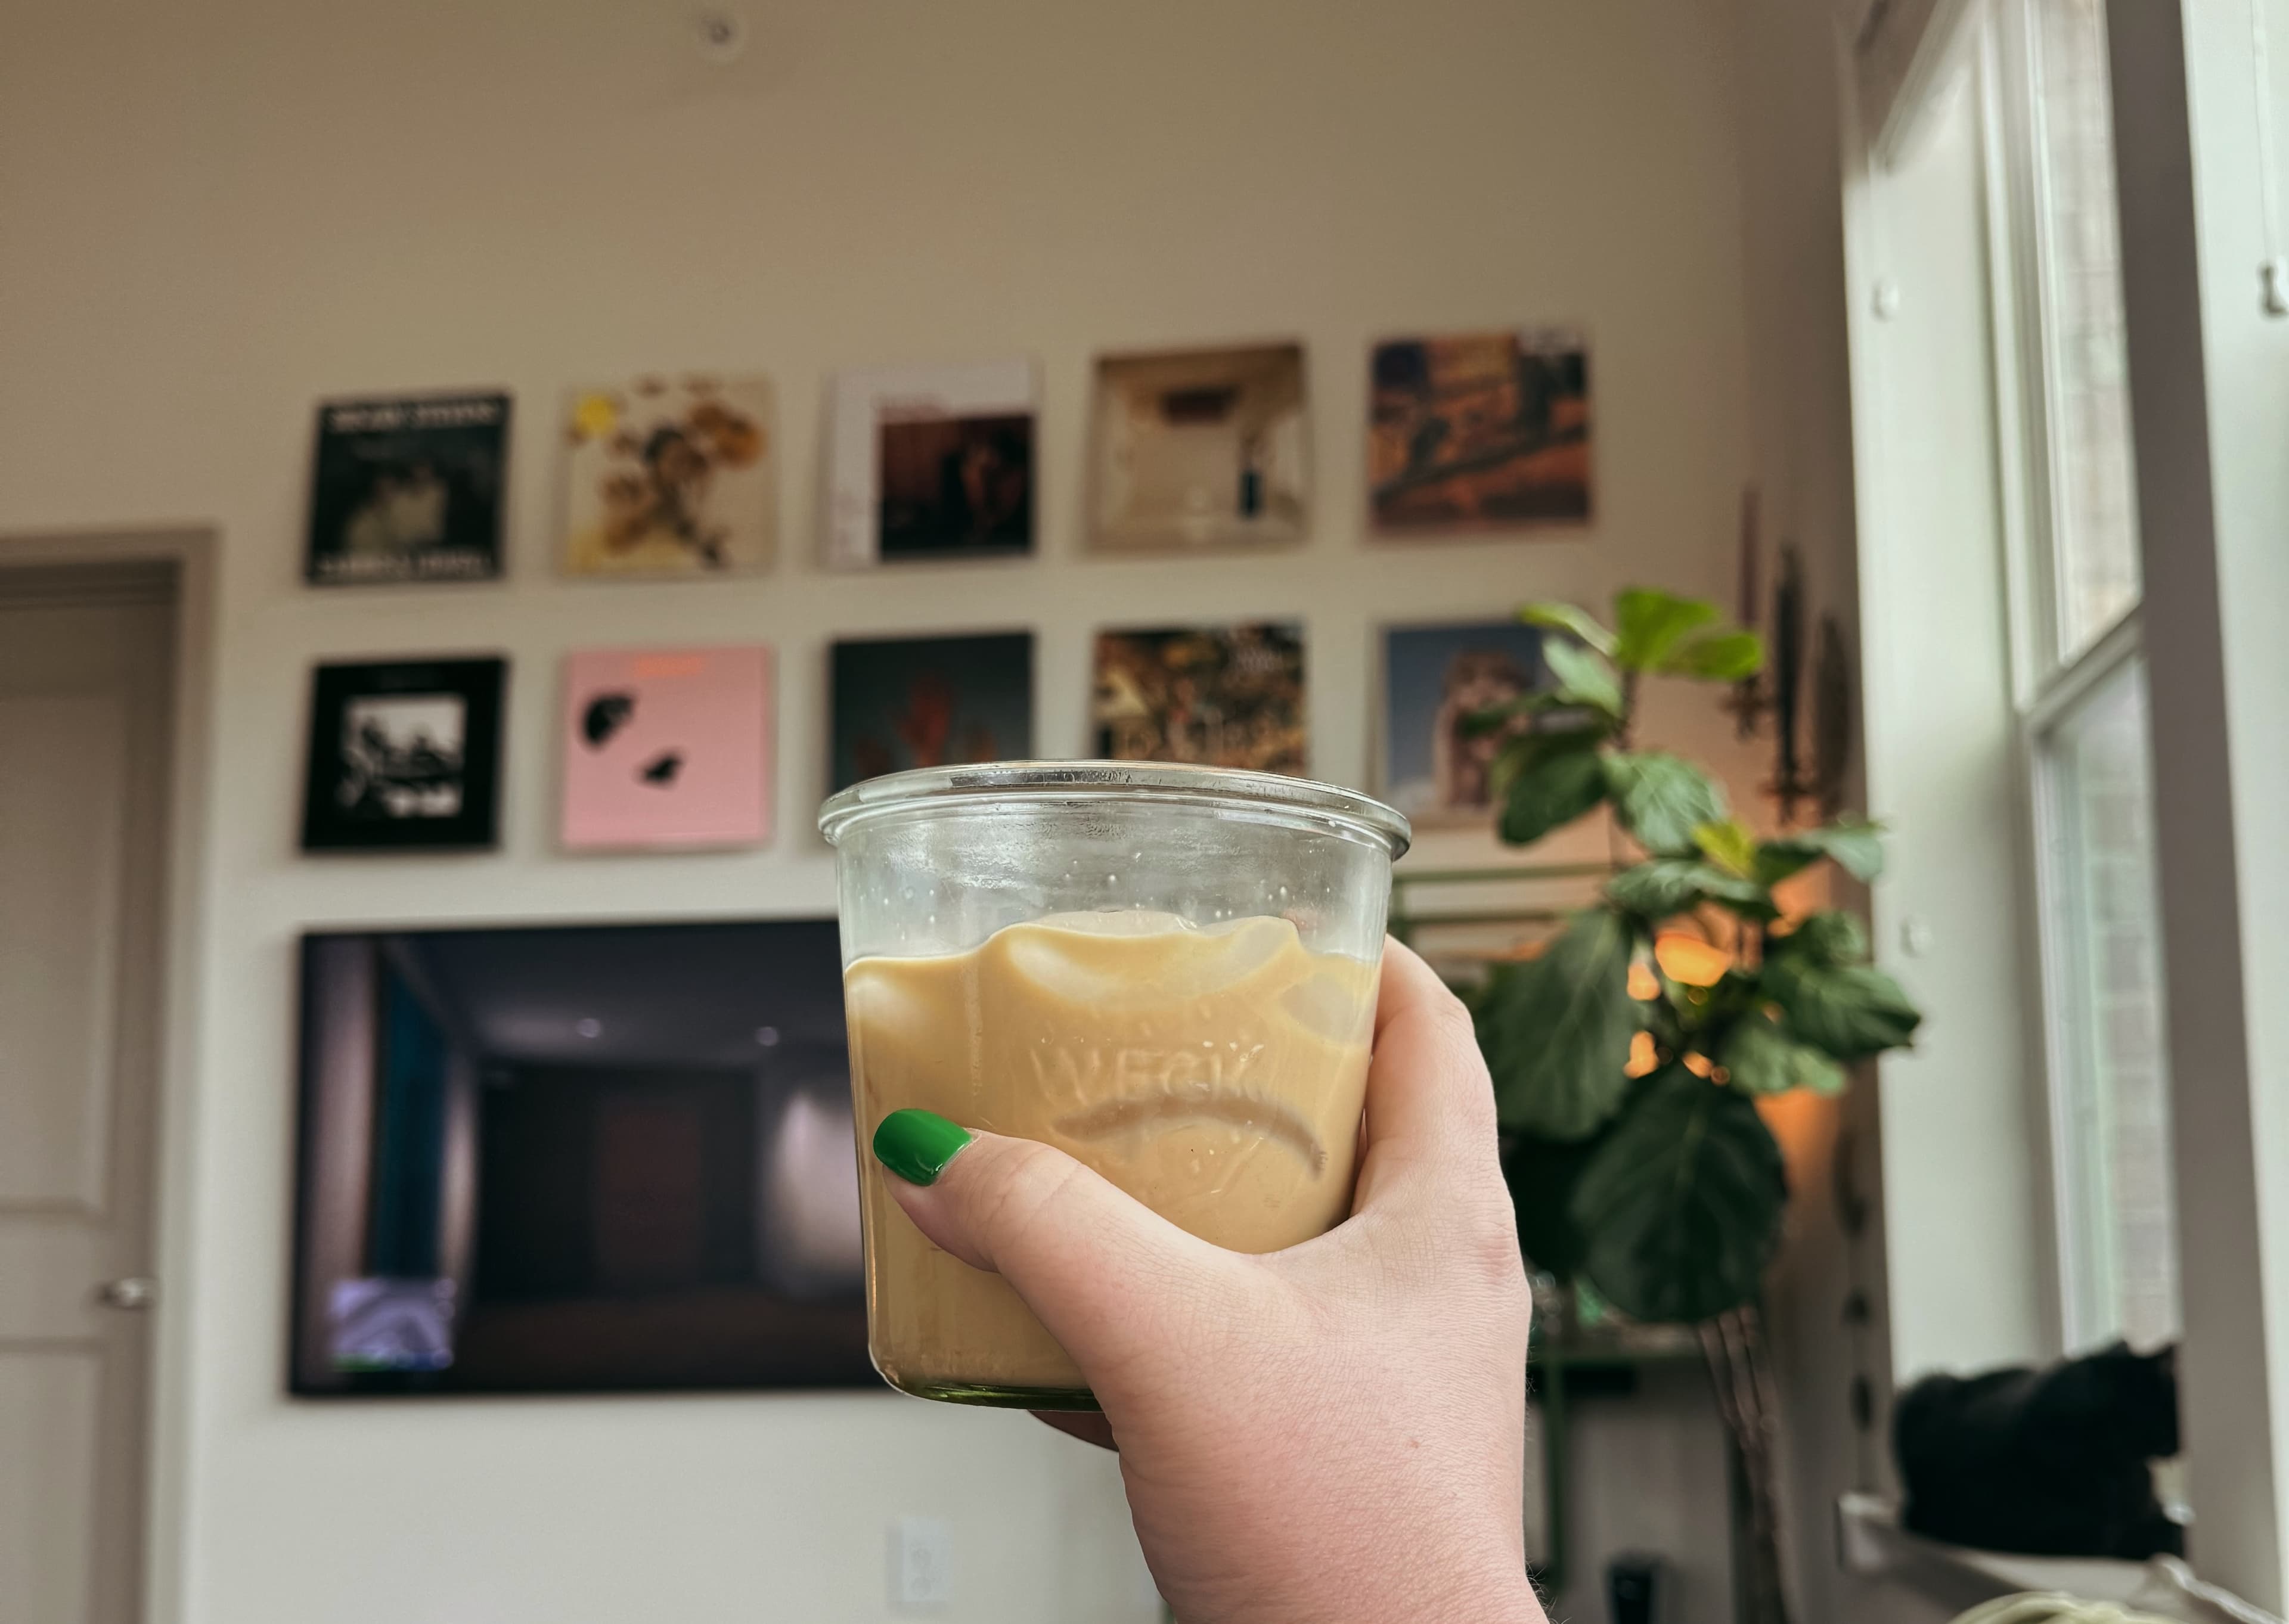
When it comes to creating a gallery wall, the possibilities are endless (and that's part of the fun!). You can mix and match different photo styles to add depth and variety, or stick to a single color scheme for a sleek, cohesive look. And remember, the best gallery walls feel personal, so throw in those quirky, sentimental pieces that make you smile. Need some inspo? Scroll through Pinterest or Instagram for fresh ideas that can help you set the vibe for your space.
How to Choose Your Photos
Alright, let’s dive into the fun part—choosing your photos! This is where your personality gets to shine brighter than a diamond (thanks, Rihanna). Here are some tips to help you pick the perfect pics for your wall of fame:
- Personal Faves: Start with the photos that make your heart do a happy dance. Think unforgettable moments with friends, epic travel shots, or goofy memories that never fail to make you smile. These are the gems that will make your wall uniquely you.
- Quality Over Quantity: While it's tempting to plaster every inch of your wall with pics, remember that quality beats quantity. Choose high-resolution images that look crisp and clear. Blurry photos (unless it’s an artsy intentional blur) can make your wall look a bit meh.
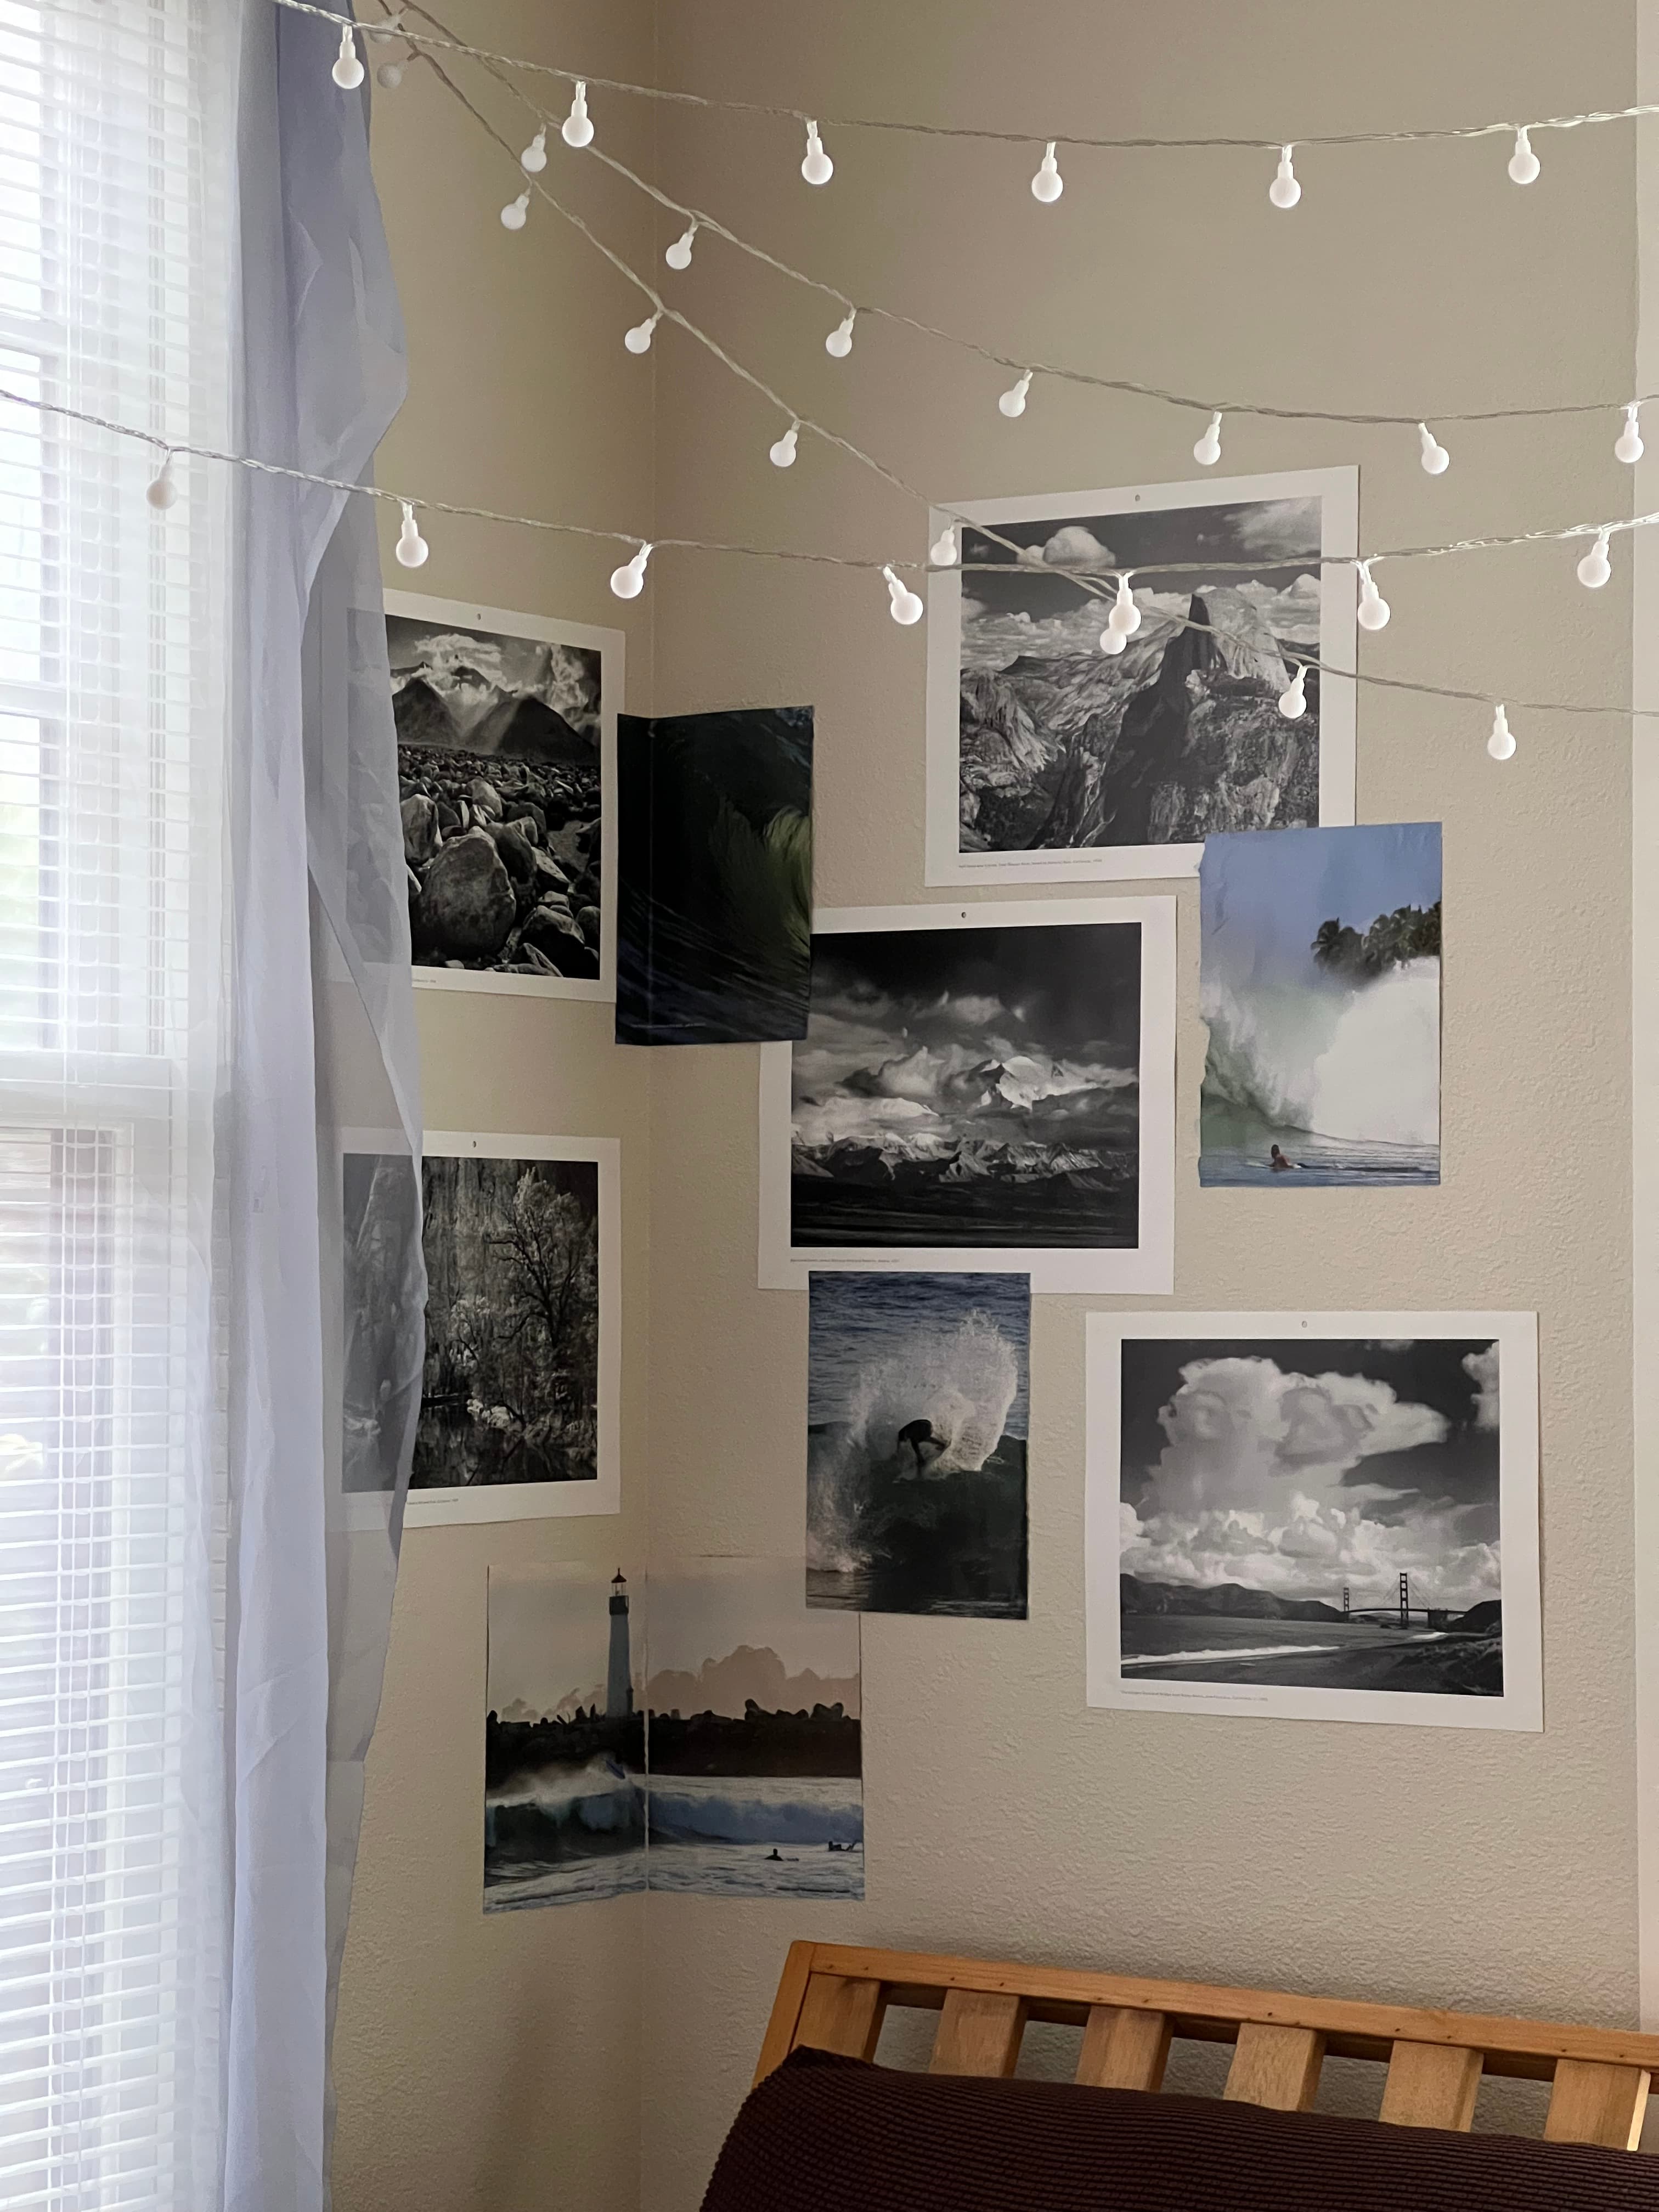
- Variety is the Spice of Life: Mix it up! Don’t just stick to one type of photo. Combine candid shots with posed ones, add in some black-and-white pics for a classic touch, and throw in a few quirky shots for that extra flair. (Your wall should be as dynamic as you are!)
- Tell a Story: Think of your photo wall as a visual diary. Arrange your photos to tell a story—maybe start with a picture from your childhood and progress to recent adventures. This will give your wall a narrative flow that captivates anyone who gazes at it.
- Color Coordination: While random pics can look cool, having a subtle color theme can tie everything together beautifully. Maybe it’s all about pastels, or perhaps you’re vibing with earth tones #cottagecore. Whatever your palette, it’ll make your gallery wall look cohesive and curated.
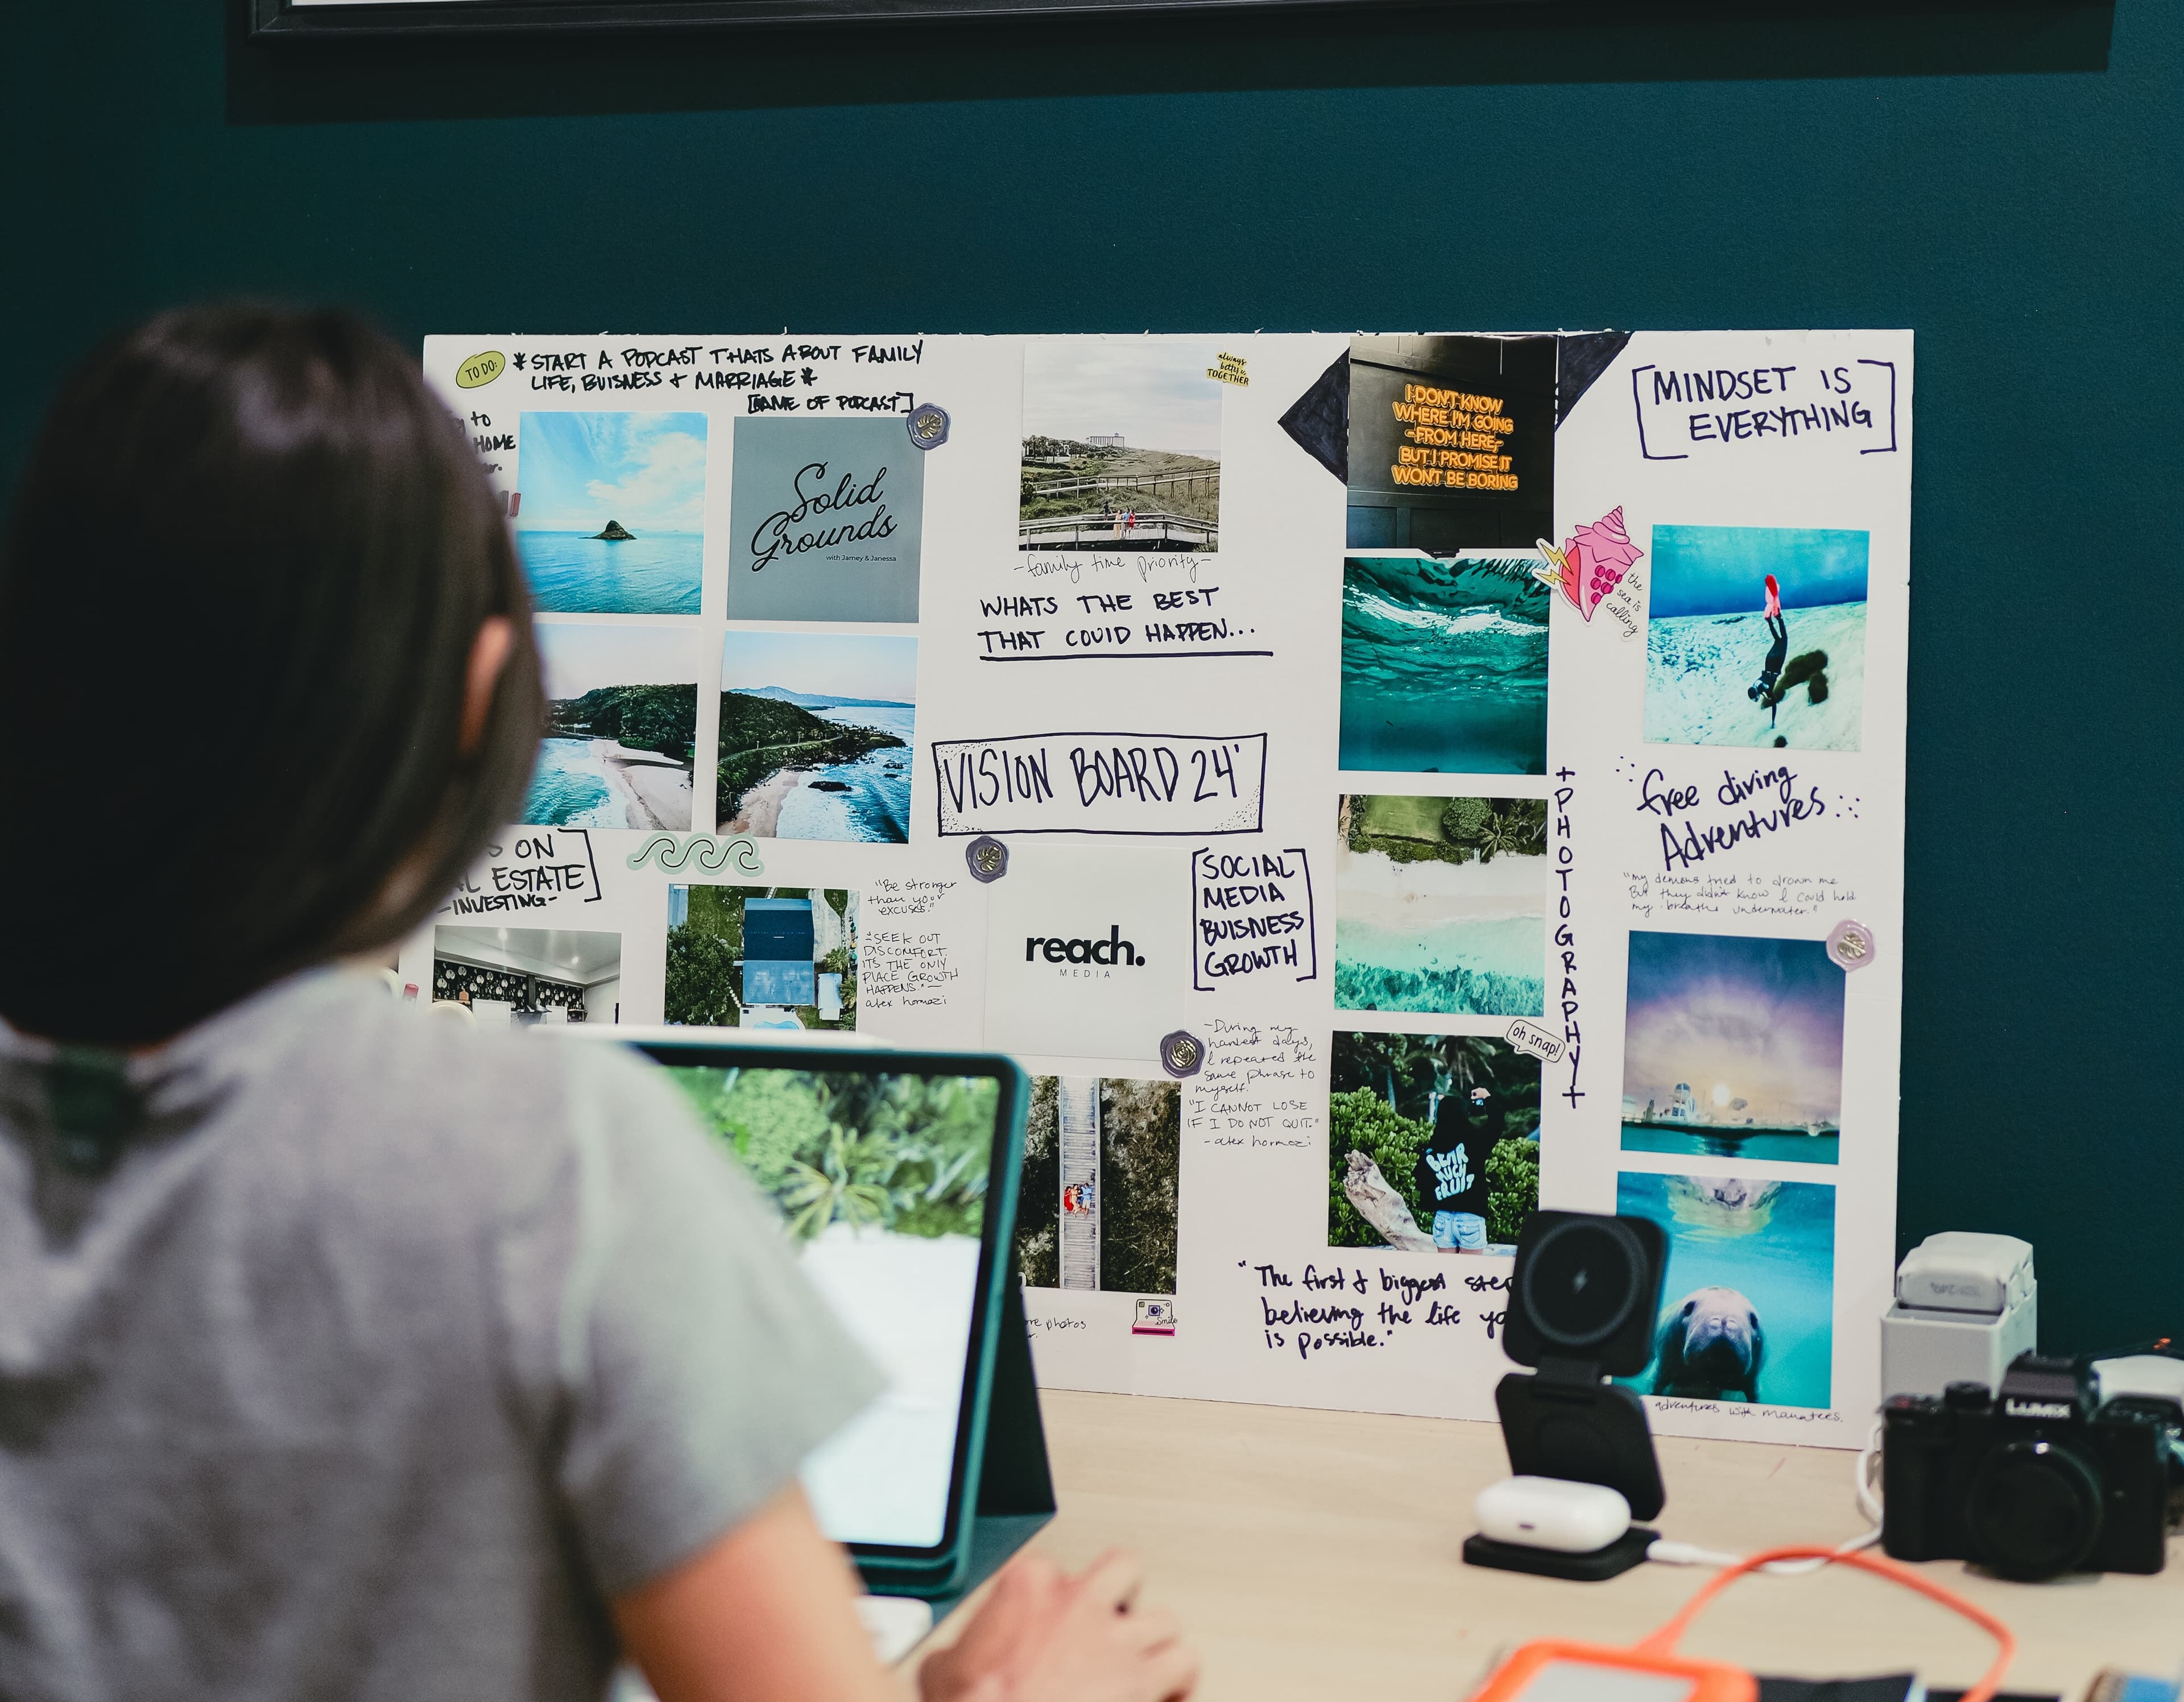
- Include Art and Quotes: Why stop at photos? Add in some inspirational quotes, playful illustrations, or even a print of your favorite meme (because some memes are timeless art, fight me on this). This mix will keep your wall interesting and uniquely you.
- Seasonal Rotations: Don’t be afraid to switch things up! Rotate your photos seasonally or whenever you feel like it. This keeps your space fresh and lets you reminisce about different moments throughout the year. Plus, it gives you a reason to update your Instagram (like you needed one 😉).
Mix and Match Art Pieces
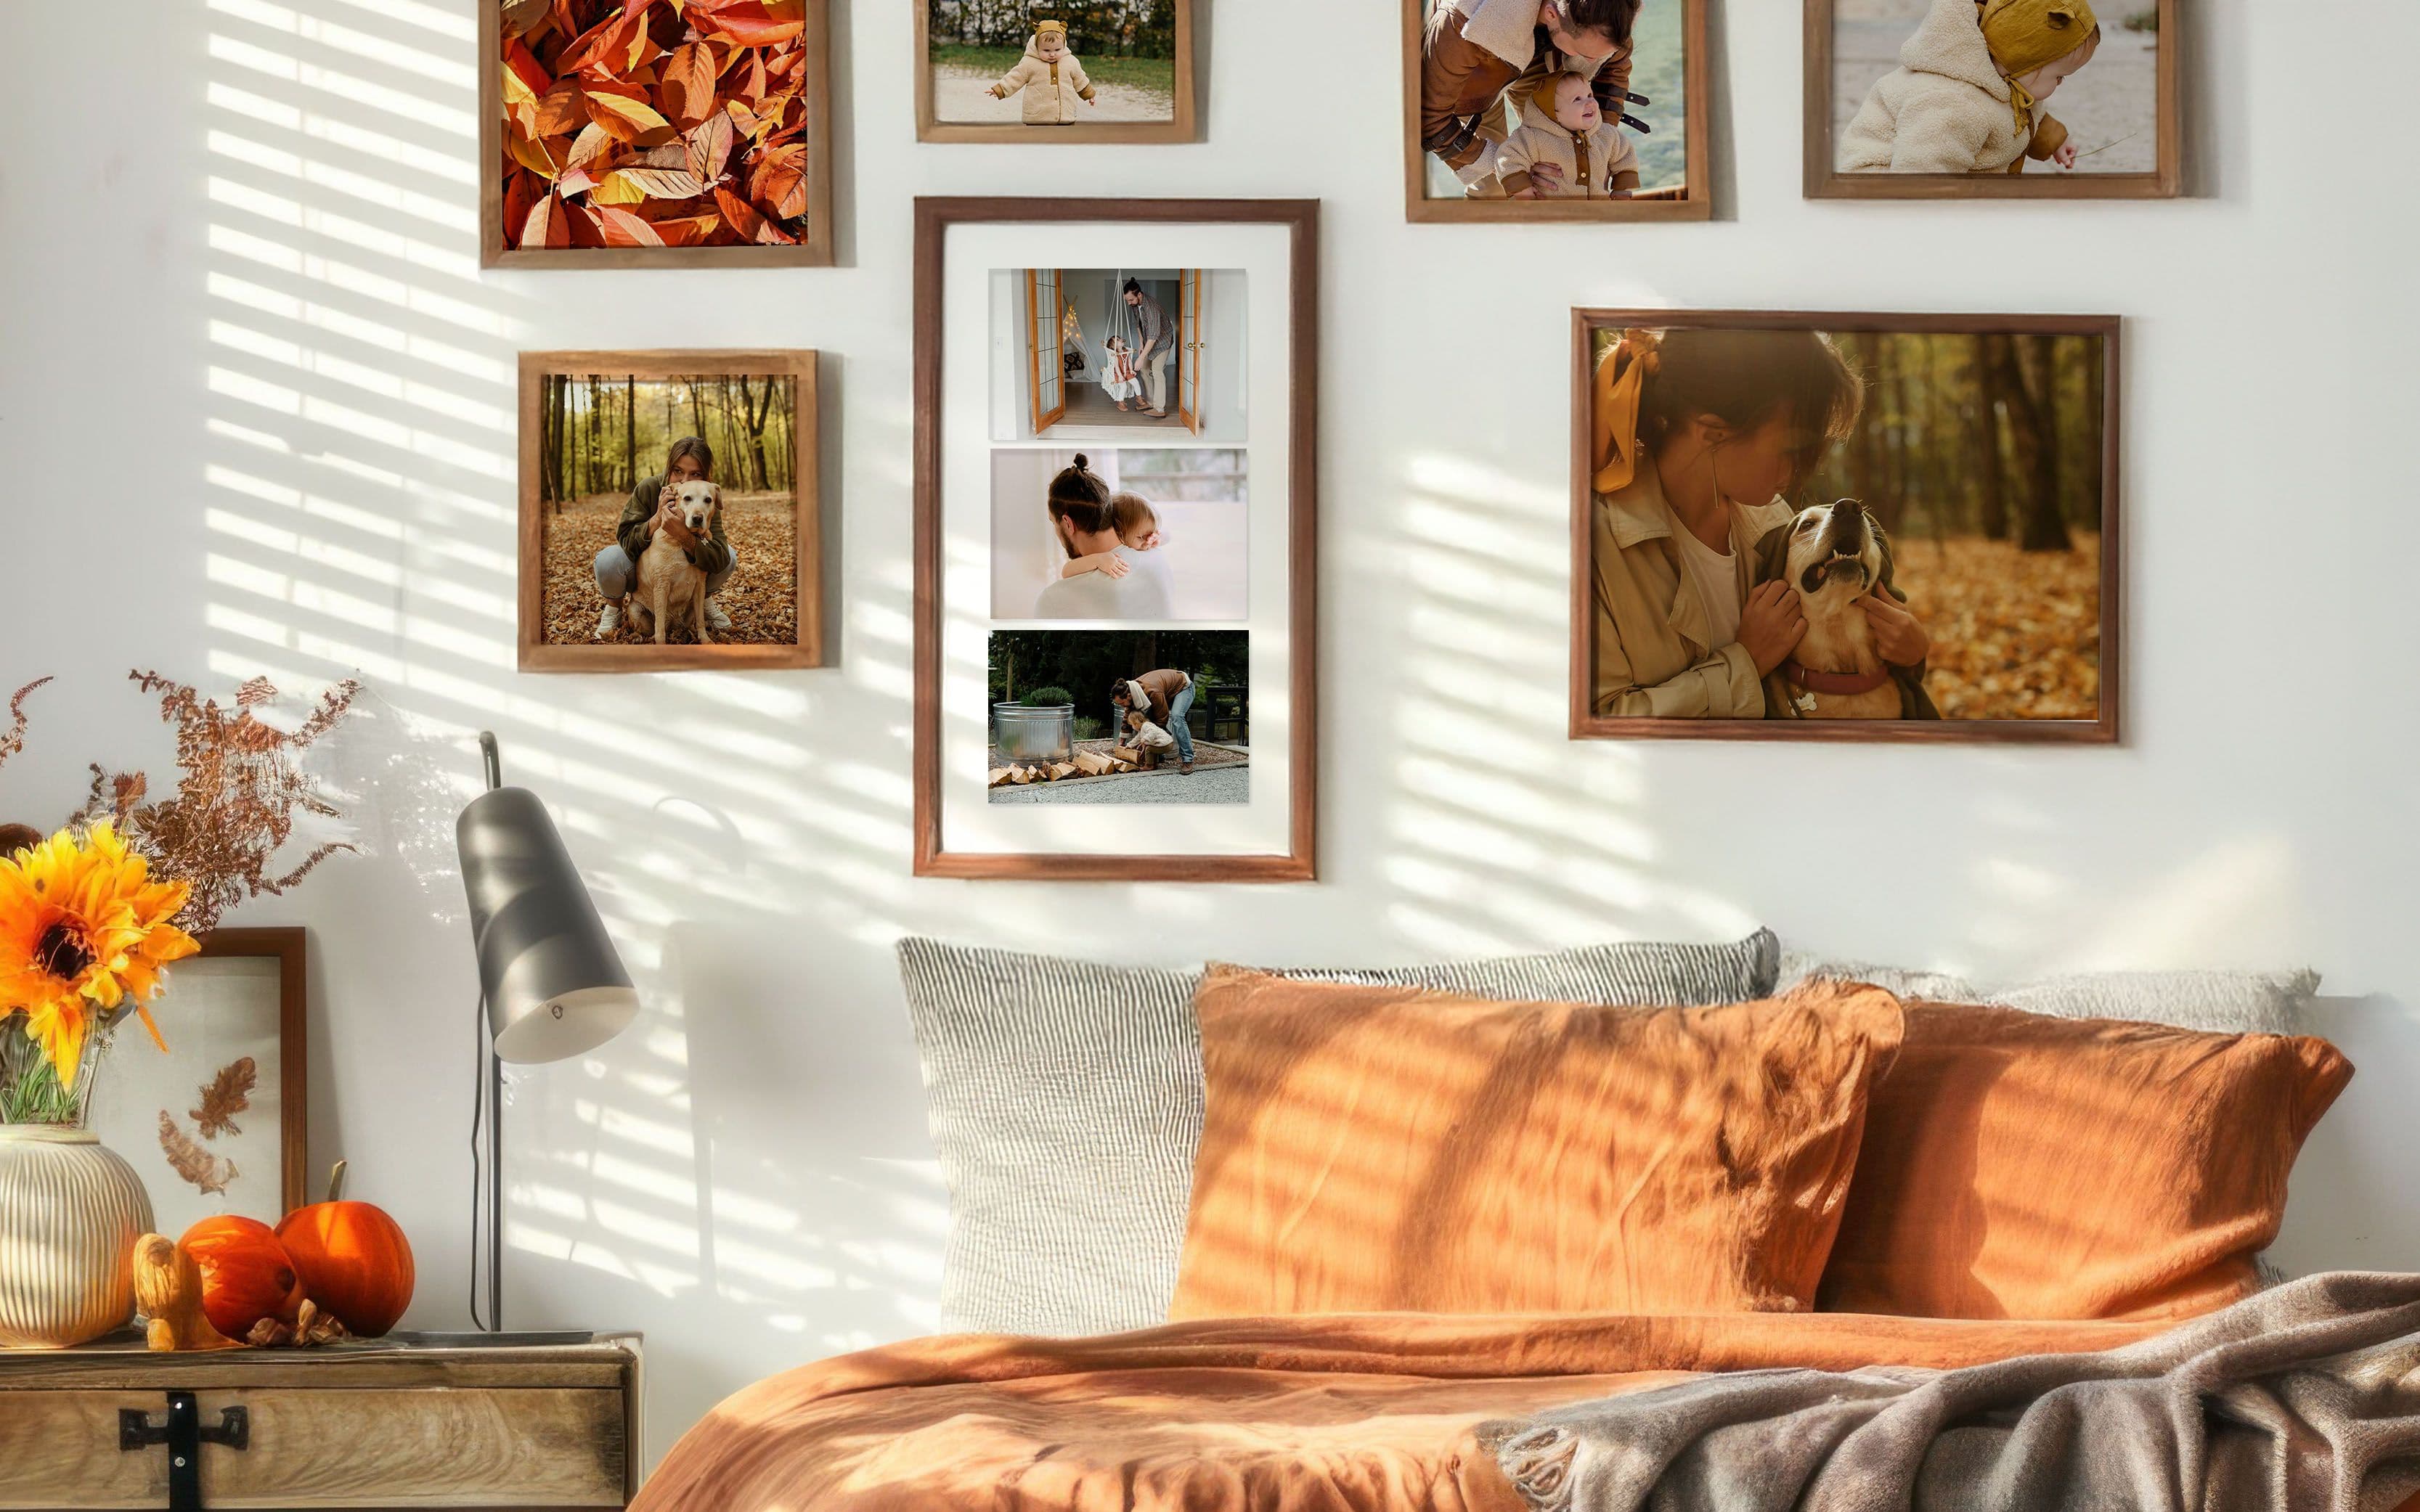
Mixing and matching art pieces and your pix is a great way to add character and depth to your photo wall. By combining photos, illustrations, paintings, and even 3D elements like small sculptures or hanging plants, you can create a dynamic and engaging display. Start by picking a theme or color scheme to tie everything together. To keep things cohesive, consider using a unifying element like a recurring color or similar frame material. The goal is to create a wall that reflects your unique taste and tells a story, so let your creativity run wild!
Arranging Your Gallery Wall
Planning Your Layout
Before you start hammering nails into your wall, take a hot second to plan your layout. Start by laying out all your frames and art pieces on the floor. This lets you visualize different arrangements without committing to anything just yet, yes you with the commitment issues. For the planning girlies, you can even use painter's tape to outline the frames on the wall, giving you a better sense of spacing and placement. Consider the height at which you'll hang your pieces; eye level is usually a good starting point, but feel free to adjust based on your room’s layout and furniture. Remember, there’s no right or wrong way to arrange your gallery wall—it's all about what feels right to you. With a bit of planning, your wall will soon be a stunning piece of art in its own right.
Set the Right Spacing
Spacing is key to achieving a balanced and aesthetically pleasing gallery wall. Aim for a consistent gap between each frame—typically around 2 to 3 inches. This helps create a cohesive look while giving each piece enough room to breathe. Too much spacing can make your wall look sparse, while too little can make it feel cluttered. The key is to step back and assess the overall balance. A well-spaced gallery wall can turn any room into a stylish and inviting space.
Frame Your Favorite Moments with Picta
Your gallery wall is a perfect canvas for showcasing your favorite moments. Start by selecting photos that hold special meaning—family gatherings, travel adventures, or candid shots with friends. These are the pictures that will make your wall truly unique and personal. Then, print with Picta to create something truly special! Plus, did we mention that your prints are ready the same day? How's that for some last-minute decorating inspo! ✨
Hanging and Final Touches
Tools You’ll Need
Getting your gallery wall up and looking fabulous requires a few essential tools. First, grab a tape measure or ruler to ensure precise spacing between frames. A level is crucial to keep everything straight (because nobody wants a crooked gallery wall!). You’ll also need a pencil for marking where you’ll place your nails or hooks. Speaking of which, make sure you have sturdy picture hangers or nails that can support the weight of your frames.
Picta'Tip: For those in rental spaces, consider using adhesive strips to avoid holes in the wall. We love Command 3M strips to reuse and keep the paint where it's supposed to be ... on your walls!
A hammer or drill will come in handy depending on your wall type. Lastly, a step stool or ladder might be necessary to reach higher spots.
Now let's get cracking! 🔨
Categories

Written by Leah from Picta
View all postsLeah is a self-proclaimed iced coffee enthusiast, "word artist", and brunch connoisseur. By day, she makes a living by creating all this content you know and hopefully love for Picta on the blog, in your inbox, or on social media. By night, she enjoys cooking up something new in the kitchen, hopping on her road bike, and painting watercolors with a glass of rosé (or two or three)!
.jpg&w=3840&q=75)